|
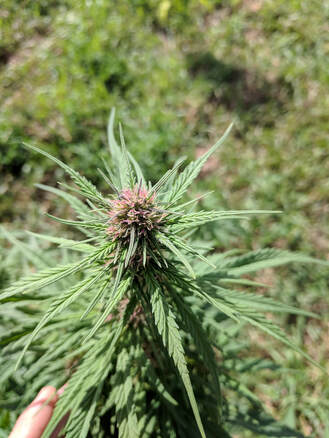
In this article, I will be covering the different ways to germinate cannabis seeds. Many people have trouble during the germination stage, especially beginner growers. I have compiled this guide to help you germinate your cannabis seeds in the most effective way possible. Following the steps below is the best way to increase your success rate. Throughout the article, I will cover the most ideal environment, water temperature, time length, equipment, etc. to use during germination. I have worked with farms on a large scale and on a small scale. I will cover the steps for each type of grower, whether you’re simply a hobby grower or an industrial hemp farmer. This guide will benefit you! 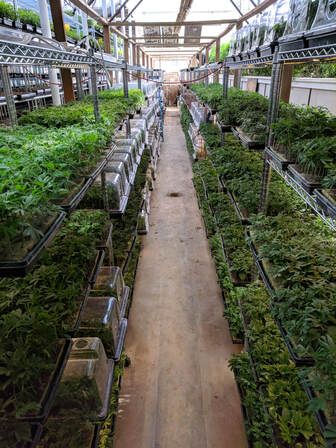 Why Should You Grow From Seed? Growing from clones can appear more simple for first-time growers, but I do not recommend shying away from using seed. When you grow from seed, your plants are guaranteed to be more healthy. Plants that are grown from seed contain healthier roots. These roots start with a healthy tap root. A tap root is the central part of a plant’s root system. Growing from clones does not produce a tap root. Growing from seed will limit the amount of genetic variation between plants. This means that your strain will have uniform characteristics between each plant. Clones will begin to show signs of variation past the first generation of plants. Clones typically yield less flower at harvest as well. Small-Scale This section will directly apply to hobby growers and mid-scale cannabis growers. The steps mentioned below will work for hemp and psychoactive marijuana seeds. The equipment needed is listed here:
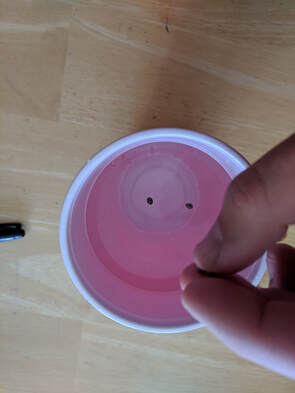
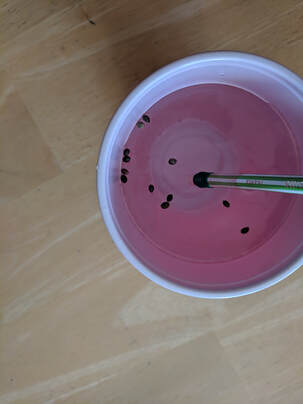
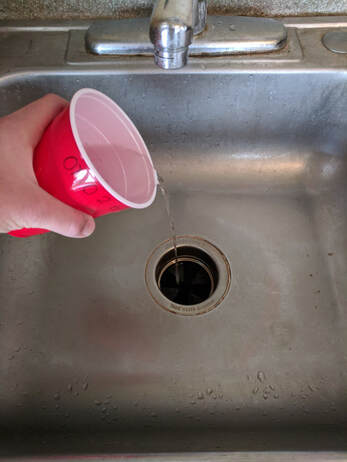
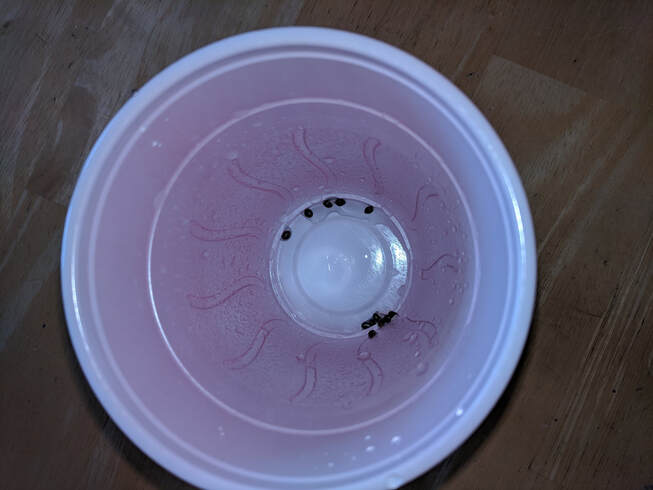
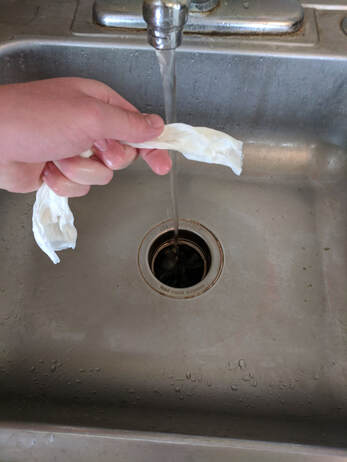
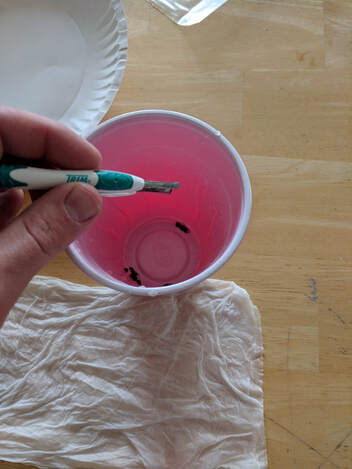
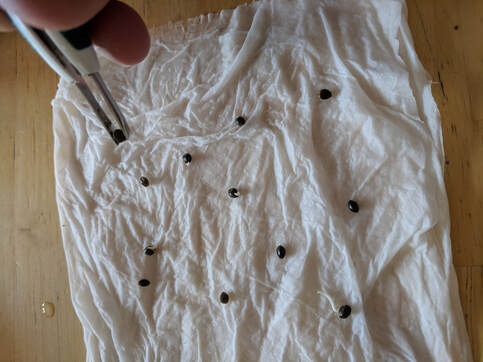
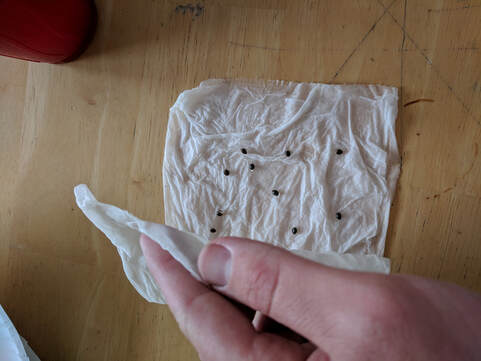
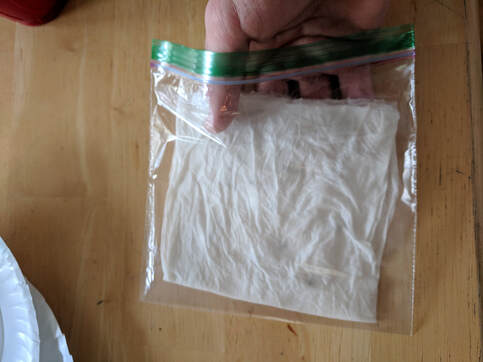
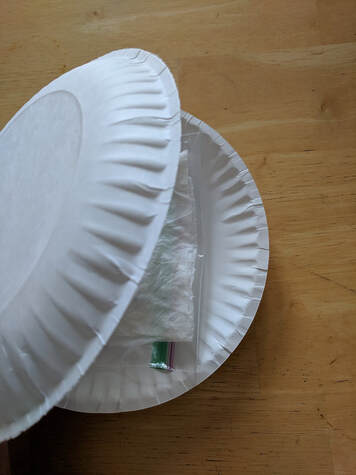
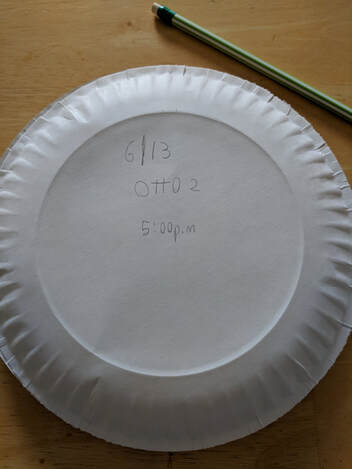
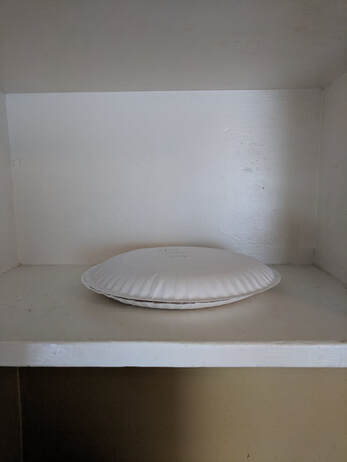
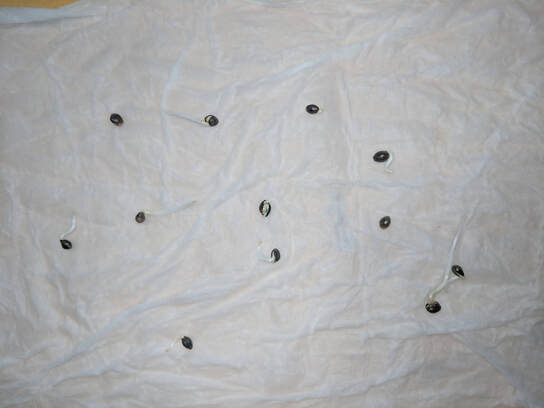
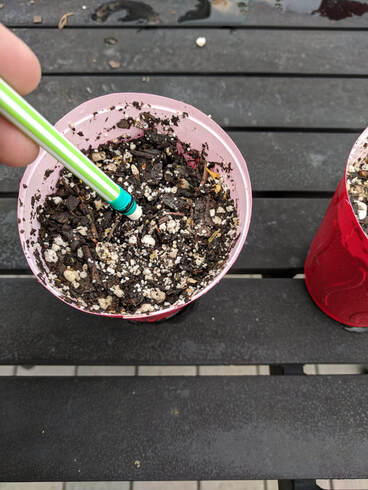
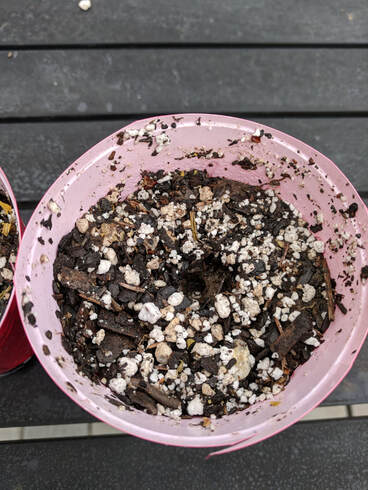
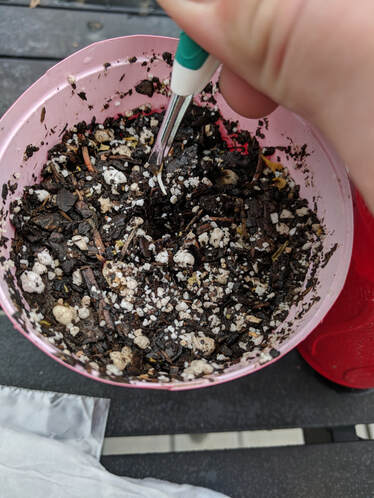
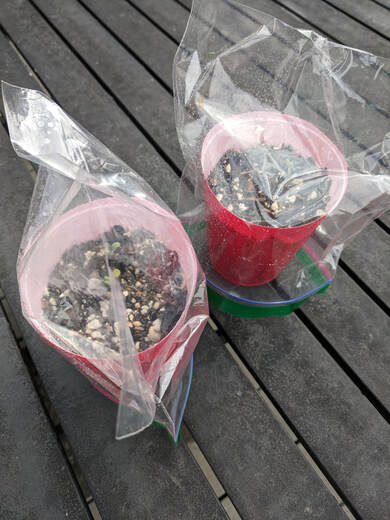
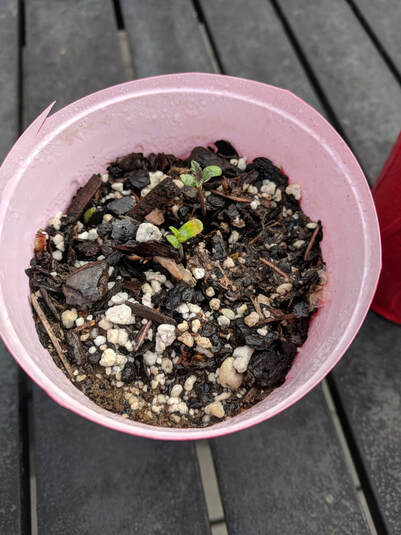
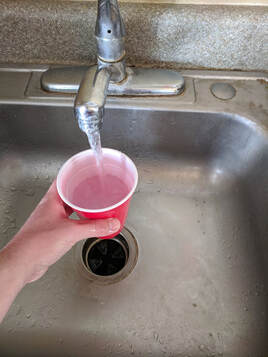 1) Fill cup with lukewarm water. Leave 1 inch of room at the top of the cup. Drop seeds into cup. Not all seeds will sink immediately. It may take some time for the seeds to completely sink. I recommend tapping the seeds with a pencil every 6-8 hours to push them to the bottom. Once seeds are completely submerged, wait 24-32 hours before moving to step 2. In this step, it is best to label your cup with the specific variety using a sharpie. 2) After seeds have been submerged for 24-32 hours, it is time to drain the cup. Simply pour out the water, slowly, making sure not to pour out the seeds. You may begin to see tap roots coming out of a few of the seeds. This is a good sign, as this means you have healthy seeds! Feel free to plant them if the tap root is long enough, if not, I recommend moving on to step 3. If your seeds haven’t “popped,” don’t fret, you will begin to see signs of a tap root after step 3. 3) Take 2 paper towels and run them under lukewarm water. Once paper towels are fully saturated, squeeze out the excess water. You want the paper towel to be moist, not drenched. Next, use sterilized tweezers to move seeds from the cup to the paper towels. Avoid squeezing the tweezers too hard. This may harm the seed. Once seeds are evenly spread out on the paper towels, fold over one side of the paper towel to create a sandwich with the seeds in the middle. I recommend placing the seeds in a sealed ziploc bag to create a humid/moist environment. This is ideal for seeds to germinate. Once in ziploc bag, place between 2 paper plates. Put paper plates in the same spot as the cups. Ideally in a warm, dark, and dry area of your house. Some recommend that this space has a temperature between 70-90 degrees fahrenheit. This process typically takes between 24-48 hours. Some people have experienced waiting as long as 4 days before their seeds germinated. I recommend checking the paper towel every 12 hours after the original 24 hour waiting period. 4) After the step above, you will begin to see your seeds “pop.” Healthy tap roots will begin to grow longer. Congrats! You have just succeeded in germinating your seeds. However, now is the time to plant the seeds! The next step will require organic seed starter soil and a spray bottle. You will use the ruler in this step as well. First, poke holes in the bottom of the cups, unless your seed pots have holes for drainage. Next, fill solo cups or seed pots with soil. Lightly pack the soil. Water the soil with a watering can or cup to ensure that the entire cup of soil is moist. When ready, measure a quarter of an inch from the eraser side of your pencil. Mark with a sharpie. Next, use the pencil to create holes that are a quarter of an inch deep. Once complete, use the tweezers to transfer seeds from the paper towel to the holes in the soil. Always drop seed in soil with tap root facing down! Once the seed is in the hole, lightly pack loose soil on top. Mist top layer of soil with water. 5) Once the seed is planted, it’s time to wait. Place the cup or pot outside into sunlight or under a grow light. Water the soil with a spray bottle to keep the soil constantly moist. During this step, I recommend placing a ziploc bag over the soil container to create a humid environment and prevent dryness. You will begin to see a seedling sprout within 1-3 days, sometimes even 5 days. So be patient! Large-Scale When conducting a large-scale cannabis operation, you may not have time to follow the methods mentioned above. This can be timely, and it requires additional labor. Although, following a similar method as mentioned above will increase your germination rate. With that in mind, I will discuss a few methods for large-scale operations to maximize their success rate and save time. The equipment needed is listed here:
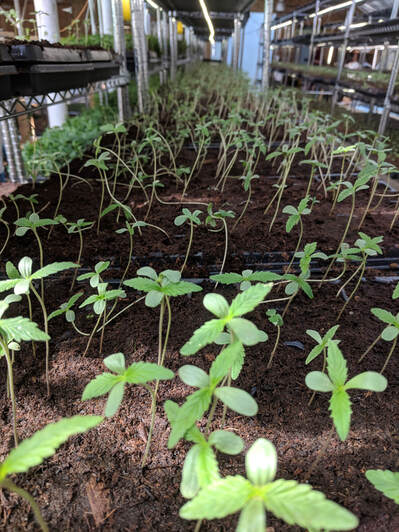
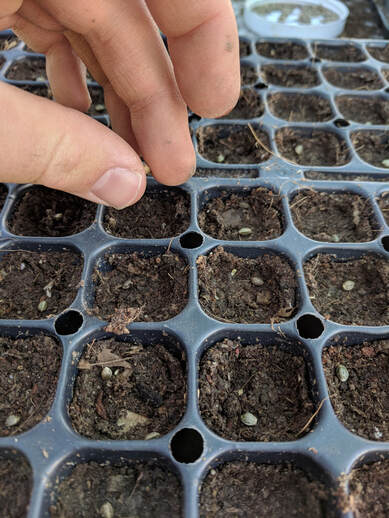
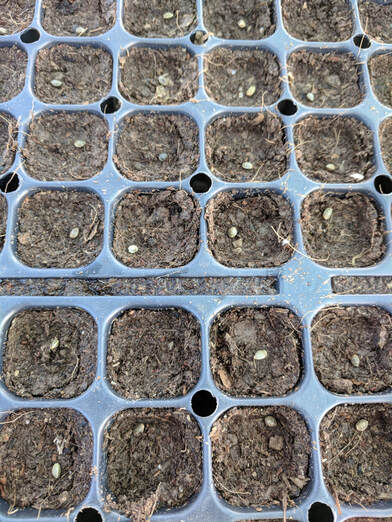
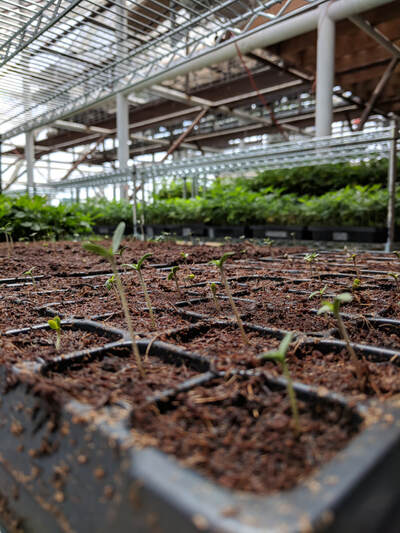
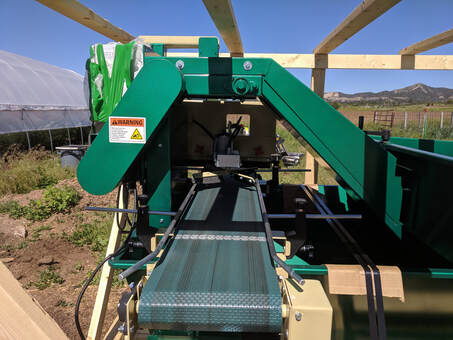
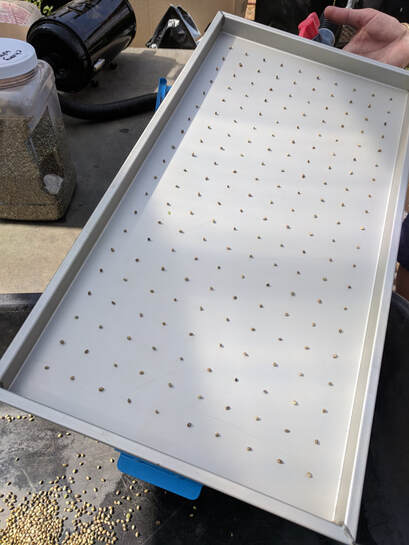
1) Seeding trays vary in size, but they all share similar depths. In this step you will fill the seeding trays with soil. Make sure to lightly pack down the soil. I recommend watering the trays to ensure even moistness in the soil. 2) Once trays are packed, use the seed poker or pencil to create holes that are a quarter of an inch deep. 3) Next you will take the bag of seed and drop one seed in each hole. Make sure that the seeds are quality and dark brown. 4) Cover the seeds with excess soil. Makes sure the layer isn’t too thick. Evenly spread layer across the tray. 5) Mist the top of the trays with “mist” nozzle attached to hose. Maintain misting to prevent dryness. 6) Place seed trays under grow lights or outside in the sun. You may want to consider using a shade cloth in this step to prevent burning. Seeds are very sensitive during this stage. I recommend minimizing the direct exposure to the sun, especially if you live in a hot climate. 7) You will begin to notice seedlings pop up through the soil within 2-3 days. Record your germination rate per tray, to compare it to the seller’s germination rate listed on the label. Some growers may have the ability to seek restitution if their germination rate is lower then the listed rate on the label. Other Options Depending on the size of your operation or the resources available to you, there are other options for speeding up the process. I will briefly mention the new equipment below. Recently, we have started to see “seeding” machines that will pack your tray and fill the holes with seed. This drastically minimizes the labor needed and the time used. If you have the money, this could help speed up your operation. Some of these machines can seed more than 200 trays in an hour. They typically cost anywhere between $2,000-$15,000. There are low budget options available. The company “Seed E-Z Seeder, Inc.” offers many innovative products. I recommend the “E-Z Seeder.” This machine will vacuum your seeds into holes to then be placed on top of the trays. Once on top, you turn the vacuum off to let the seeds fall into each individual hole. You can find a video explanation here. What’s Best for You? All in all the method you choose depends on the size of your operation and your expectations. Are you a first-time grower? Do you have a limited budget? What success rate are you expecting? These are all factors you need to consider before deciding which method is best for you. I hope you found this article helpful. Please don’t hesitate to ask questions or post updates in the comment section below. Good luck with your crop! References
https://www.growweedeasy.com/germinate https://www.growweedeasy.com/germinate#soak-marijuana-seeds-overnight https://hightimes.com/grow/germinate-cannabis-seeds/ https://www.royalqueenseeds.com/blog-growing-cannabis-plants-seeds-versus-clones-n27 https://www.youtube.com/watch?v=htSH-gSrz2s http://sezsdr.com/
3 Comments
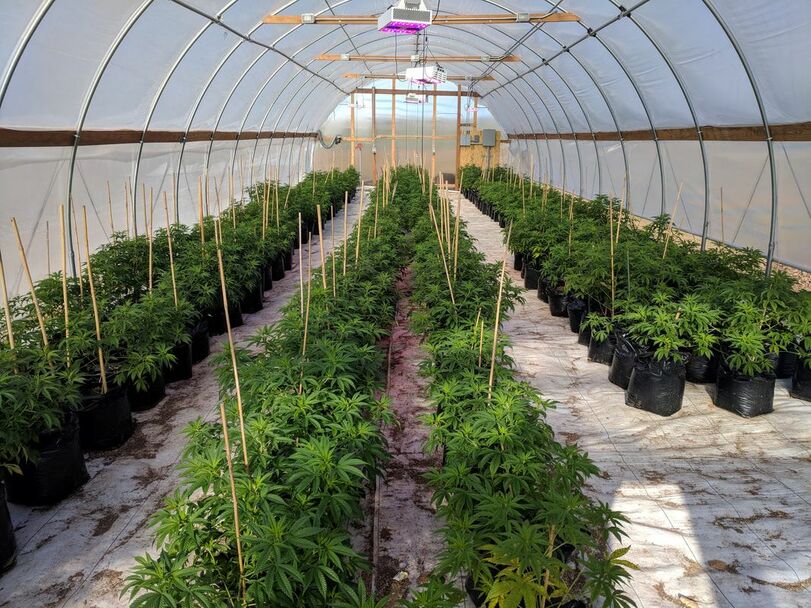 There are many factors to consider before setting out on your greenhouse adventure. First and foremost, you need to consider your location, budget, square footage, and crop. These factors will help you decide what style of greenhouse you want to build. I put together this guide to help get your farm on the right track. I’ve listed additional articles below that may provide you with further detail. Let's get started! Style of Greenhouse There are many different styles of greenhouses. I will cover the most popular greenhouses used when growing hemp or psychoactive cannabis. Through my experience, I have seen two main styles used. Of course, you can vary from these styles to find what works the best for you.
Style of Roof In this section, I will cover the three different styles of roofs most commonly used in a greenhouse. Each style varies slightly, but all of the styles offer similar benefits. The only difference you will notice during construction is the amount of materials needed and additional installation.
Glazing Greenhouse glazing is essentially what you are covering your structure with. Of course, you want to find a material that is transparent and long-lasting. In this step, I do not recommend cutting corners. Depending on the duration of your operation, you want to find a material that won’t fade and retains its R-value over time. Here are a few materials that I recommend.
Heating When building a greenhouse, you have to consider the environmental factors in your area. This can be easier said than done, but don’t overlook this step. When it comes to heating your greenhouse, there are a few techniques that will help you lengthen your growing season.
Cooling Cooling off your greenhouse in the middle of the summer can present some challenges. Make sure you locate your greenhouse in an area where it can catch the summer breeze. Here are a few ways to keep your greenhouse cool.
Irrigation Choosing the right irrigation system for your operation can help keep labor costs low. Anyone can walk from plant to plant with a hose or container, but this can become very timely and inefficient.
Supplemental Lighting With my experience in Colorado, we commonly use supplemental lighting to lengthen our growing season. Make sure you use the right lighting and intensity for your square footage.
Miscellaneous In this section, I will cover a few techniques that will help increase your chances of success. These techniques will help save you time and money. Energy conservation is at the forefront of our society. And why not? Practicing energy conservation techniques can help you save money and time. When trying to insulate your greenhouse, you may want to consider double glazing and perimeter insulation. This can help lower your monthly heating bill. Energy/shade screens can help keep your greenhouse cool and limit the need for an A/C. Lastly, utilizing your full growing space can create higher yields. Most growers these days want to set up their operation with monitored controls. These controls can monitor the temperature, ventilation, irrigation system, and many more. If you have the extra budget, I recommend investing in an electronic controller to control your greenhouse. The electronic controls can open and shut vents, turn on the heater, and even control your supplemental lighting. This is ideal for those growers with limited man power. Depending on your location, it is important to build a freeze barrier underneath your greenhouse. Typically, this is done prior to the construction of your greenhouse. Without a freeze barrier, you open yourself up to the risk of frozen roots or quicker greenhouse deterioration. Lastly, I would like to briefly cover the budget. The size, technology, and crop are all major factors that will effect your budget. If you are a hobby grower, a large budget will not apply to you. If you are an industrial grower with a big operation, a large budget is something to consider. On an industrial scale, the average budget needed is between $8,000 and $21,000. The lowest amount of money I've seen spent was $5,000 for a decent industrial greenhouse. Remember, don't cut corners! Here are a few articles to help you get one step closer to harvest: https://ag.umass.edu/greenhouse-floriculture/fact-sheets/selecting-building-commercial-greenhouse https://www.420beginner.com/best-practices-for-greenhouse-hemp/ Conclusion All in all, building a greenhouse should be an exciting and rewarding adventure. Make sure to put forth the additional research and don’t cut corners! This can really make a difference between the success and failure of your crop. Please don’t hesitate to email us if you have any questions. Please subscribe to our newsletter for additional tips and guides that will be posted throughout the season. Happy Hemping! Sean Huber Marketing Director, AP Sleeping Indian LLC |
Archives
May 2020
CategoriesAll Anxiety Beginner Building Cannabis Cbd CBD For Macular Degeneration And Glaucoma Cbd Isloate Cbd Oil Cheap Greenhouse Depression Full Spectrum Cbd Germinate Cannabis Seeds Glaucoma Greenhouse Health Benefits Hemp Hemp Farm How To How To Germinate Cannabis Seeds Large Scale Macular Degeneration Mental Illness Outdoor Growing Small Scale Whole Plant Extract |


 RSS Feed